
Projects & Workspaces Directory
Projects represent strict multi-tenant isolation boundaries in Omnismith. Every data model (Attributes, Templates, Entities), Automation, Dashboard, and Security permission is isolated within its tenant scope.
1. Projects Directory Overview
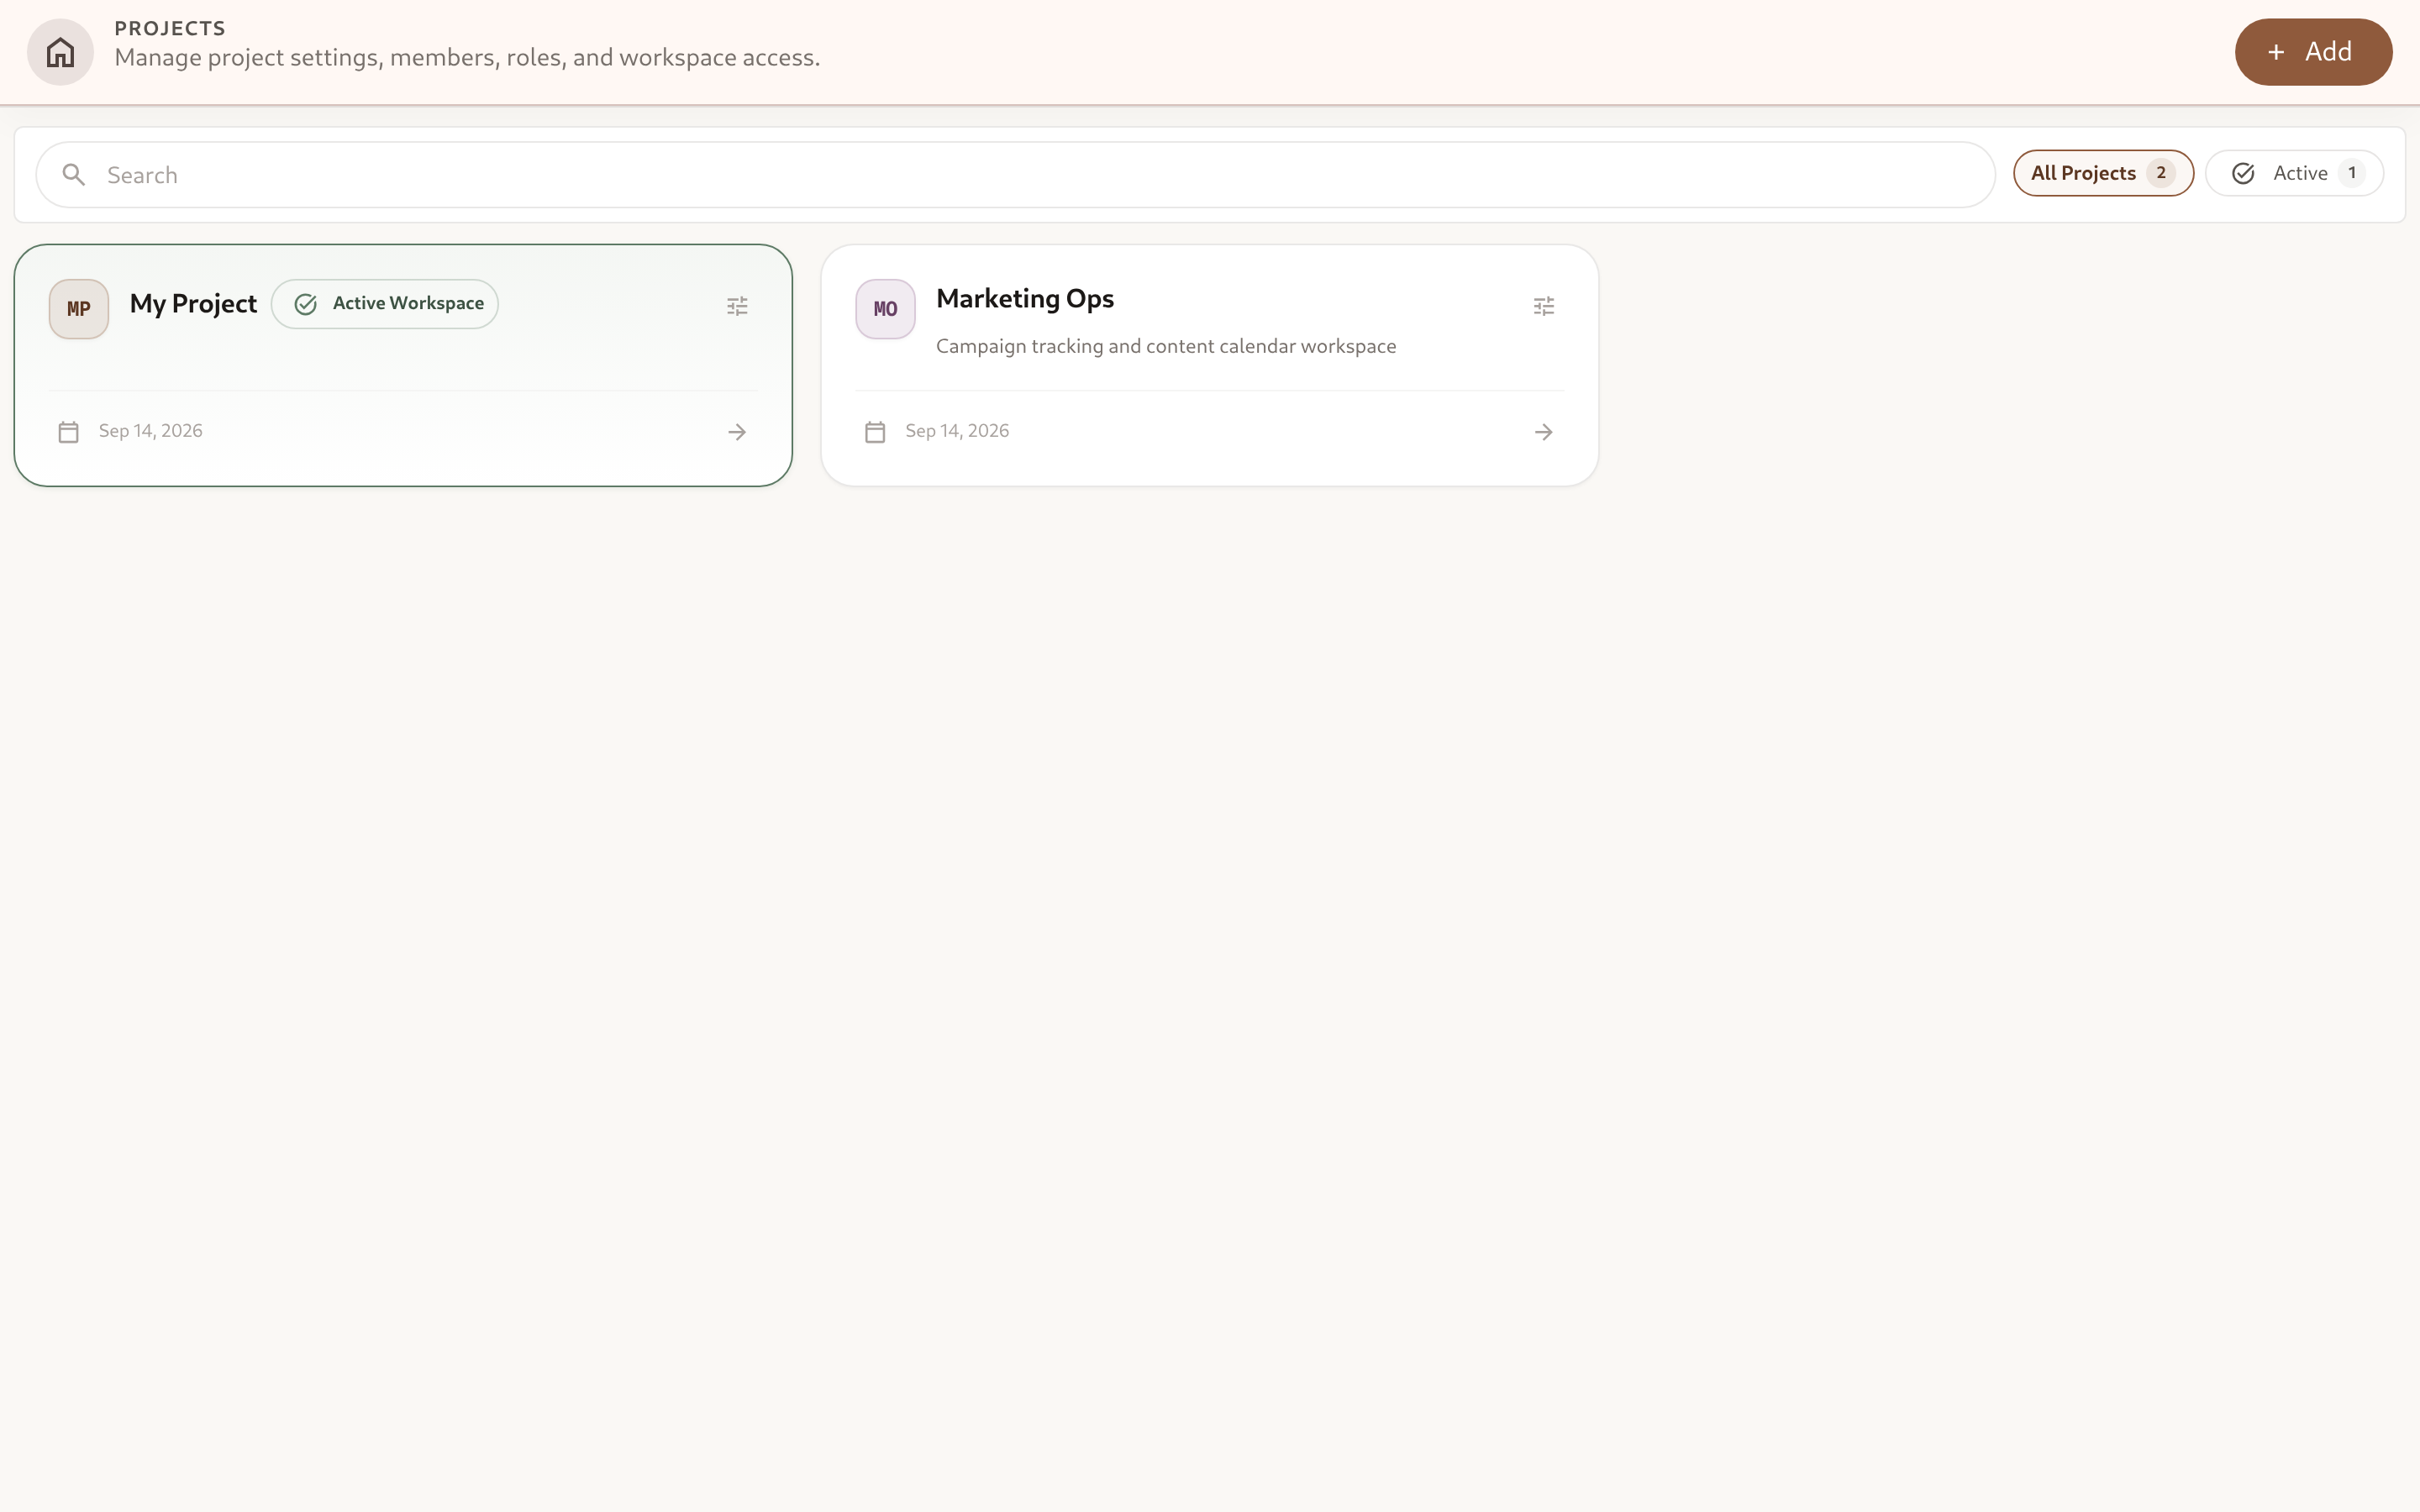
Section titled “1. Projects Directory Overview”The Projects Directory (/project/search) provides a centralized command center to view, search, and navigate across all workspaces you own or collaborate on.
Key Capabilities
Section titled “Key Capabilities”- Instant Search & Quick Filters: Filter projects using the real-time search bar or toggle quick filter pills (All Projects vs. Active Workspace).
- Workspace Status: The actively selected project is highlighted with an emerald border, gradient background, and an
Active Workspacebadge. - Context Switching: Click Switch to Project on any card to start working in that workspace. Switching is instant and does not sign you out of anything.
- Direct Navigation: Jump straight to the entity canvas via Open Workspace or configure workspace governance via Settings.
2. Multi-Tenant Architecture & Context Switching
Section titled “2. Multi-Tenant Architecture & Context Switching”Omnismith utilizes cryptographically signed JWT tokens and strict workspace data isolation:
graph TD    User["Authenticated User (demo@omnismith.io)"]    JWT["Signed Access Token<br/>(Grants: the projects you belong to)"]    Request["Request naming one project"]    P1["Project Workspace: Server Monitoring<br/>(Isolated Tenant Data)"]    P2["Project Workspace: IT Asset Management<br/>(Isolated Tenant Data)"]    P3["Project Workspace: AI Agent Auditing<br/>(Isolated Tenant Data)"]
User -->|Signs in| JWT JWT -->|Authorization: Bearer token| Request Request -->|Selects Server Monitoring| P1 Request -->|Selects IT Asset Management| P2 Request -->|Selects AI Agent Auditing| P33. Creating a New Project
Section titled “3. Creating a New Project”To create a new workspace:
- Navigate to Projects (
/project/search) from the Launcher or left navigation. - Click the + Add button in the header toolbar.
- Enter the Project Name and optional Description.
- Click Create Project to generate a clean, isolated workspace canvas.
- Alternatively, explore the Blueprint Marketplace to bootstrap ready-made industry templates.
4. Project Workbench Sub-Navigation
Section titled “4. Project Workbench Sub-Navigation”When opening Project Settings (/project/library/:id), a dedicated bottom sub-navigation bar provides access to all project tabs:
| Project Tab | Route | Description |
|---|---|---|
| Settings | /overview | Basic workspace metadata, name, description, timezone, and deletion safeguards. |
| Users | /users | Team member directory, email invites, and assigned roles. |
| Roles & Permissions | /roles | Custom RBAC role definitions with 45 granular permissions and resource scopes. |
| Audit Log | /audit-log | Immutable audit trail tracking actors, timestamps, event types, and payloads. |
| Sessions | /sessions | Active user sessions, IP addresses, client devices, and remote session revocation. |
| Push Devices | /push-devices | Registered mobile & web push notification tokens and device statuses. |